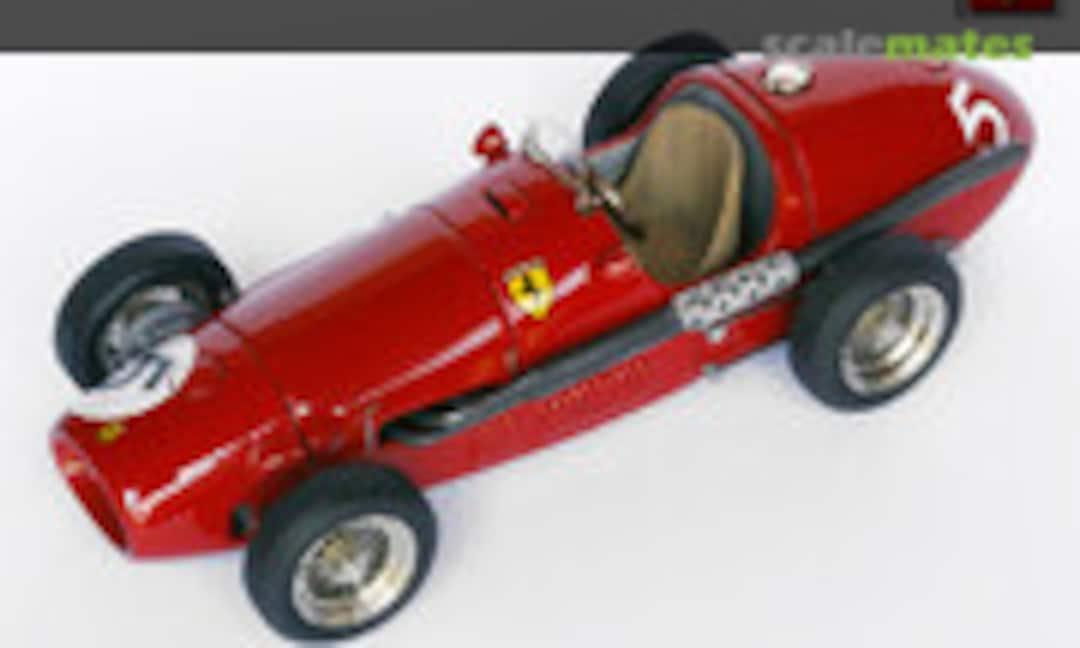
Work in progress pictures
Commentaires
21 April 2013, 20:22
Well, there is one thing which bothers me... if you look at the reference pic you'll notice that the front radiator opening is perfectly oval, while the model shows a more asymetric shape, oval at the top but with quite sharp corners at the bottom. Correcting this however would lead me too far from what I want to achieve here, and that is to make a decent 1:43 model of a Ferrari 500 F2. If I want to build a perectly shaped model, I'd better buy me a more recent kit, because this Tron kit is at least 25 years old... So for this WIP-thread I'll concentrate on the build itself, if you guys don't mind😉
22 April 2013, 11:54
Well Guy, that's what I call perfectionism 🙂 I just want to see any build out of your hands 😉
22 April 2013, 12:12
I guess I have to train for next year Wangerooge, so I bring the beer😉
22 April 2013, 13:35
Hi Guy.
At that time Ferrari used different configurations of bodywork on basically the same car, one theory as to why, was it was easier for the Team to recognize a drivers position in a race. You could tell from quite a distance who's car was coming towards you, if they have different shaped Radiator openings. Here are two Ferrari 500 F2's showing two different openings:
[img1]
[img2]
22 April 2013, 14:37
I also now notice.
Image one I posted, is the car in your first picture Chassis 5.
My other pic, the car is Chassis 0188F.
22 April 2013, 14:45
Oh, but that's a whole different ballgame! I thought that the model sculptor did a poor job, but the configuration I have in my kit actually existed as well! So that means I will be forced to do a conversion from the '0188F' chassis configuration to the 'chassis 5' configuration, especially since the Tron kit only has 1 single decal option: the 1953 Silverstone GP winner! So I just have to find a way to shape the oval shaped radiator opening...
22 April 2013, 17:40
Guy.
If it's any consolation, if any one can do, it you can!!!
Plenty of filler, sanding, patience and copious cups of Tea, a pinch of swearing, you now have a recipe to do it, good luck Guy🙂🙂🙂
22 April 2013, 17:58
Wow!!! Guy.
Top notch👍 I did say if anyone can do it you can and you certainly did🙂
23 April 2013, 15:24
Guido, making it thinner would increase the risk of breaking easily. So i chose a compromise solution...
23 April 2013, 17:14
Also Guido.
Guy can always give it the illusion of being thinner, by painting the inside of the opening a darker red as shading, making body work appear thinner. 1:43 is the ideal scale to get away with it...
23 April 2013, 17:26
By the way Guy, I tried to find something about the green/blue wheels... unfortunately without success. There's a lot to find about that special Grand Prix but nothing explicit about the wheels. 🤔 Great job so far Guy... as always 👍
3 May 2013, 20:49
Brilliant Guy.
The choice of black on the exhaust is excellent, little details like that really make a model stand out...👍8)
I still can't find that reference to the wheels, but I'm still looking...
5 May 2013, 08:43
Your coming on a lot better than I am as I'm still looking for the reference to the wheels. Your progress is fantastic, it looks awesome so far, well done Guy👍
11 May 2013, 08:00
Hi Guy,
it`s every time an absolutely pleasure to examine your models!!!
Each time I am encouraged to build an F1 model... I swear to you, this year I must meet you in Mol!! Wanna see some of your 1:20 F 1 machines in real!!
I explored last days the weppage Modelers Site! And I was really surprised to see some several articles from you there.
I will think about to order your building article about the Ebbro Lotus 72E !!! But about 8 British Pounds for one pdf is not cheap.. 🙂 🙂 🙂
Nevertheless there are a lot of fantastic articles!
Greetz
Dirk
11 May 2013, 10:47
Last progress pictures for today; I finally could dryfit the wheels.
12 May 2013, 20:42


